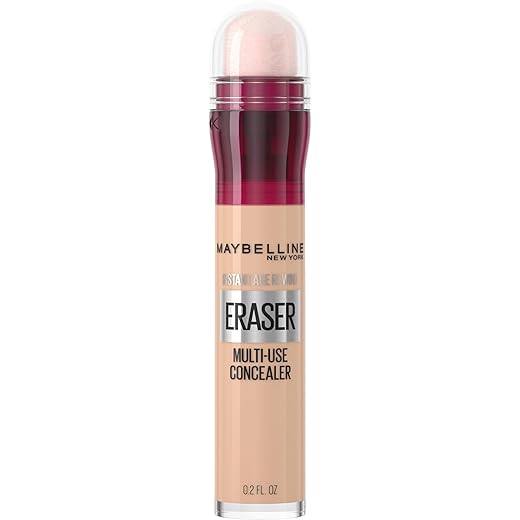
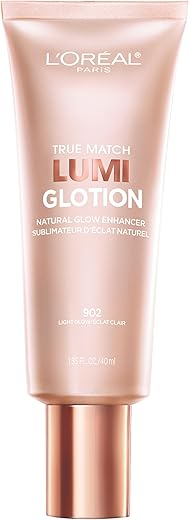
The step-by-step guide “How to Apply Brightening Concealer for a Natural Look” provides easy-to-follow instructions on how to effectively use brightening concealer to camouflage dark circles and enhance the skin’s radiance. By following this guide, you can achieve a natural and glowing complexion effortlessly.


How to Apply Concealer for Those Over 40!
Choose the Right Shade
Choose a concealer shade that is one to two shades lighter than your natural skin tone. This will help brighten your under-eye area and highlight your facial features. Apply the concealer using a small brush or your fingertip, blending it gently under your eyes to achieve a natural, brightened effect. Remember, selecting a lighter shade helps to counteract darkness and create a more radiant look.


Prep Your Skin
Start by washing your face with a gentle cleanser to remove any dirt or oil. Pat your skin dry with a clean towel. Next, apply a lightweight moisturizer to hydrate your skin and create a smooth base for makeup. Remember to let the moisturizer fully absorb before moving on to applying any makeup products.
Apply Concealer in Triangles
- Blend: Use a small makeup brush or your fingertip to apply the concealer in a triangular shape under your eyes, starting from the inner corner to the outer corner.
- Conceal: Gently dab the concealer along the orbital bone, extending down to the top of your cheekbone in a triangular formation.
- Pat: Blend the edges of the triangle outward to seamlessly integrate the product with your skin, ensuring a natural and flawless finish.
Blend Gently
Blend the concealer into your skin gently by tapping or dabbing it for a seamless finish. Use light pressure and small, quick motions to prevent any harsh lines or patchiness. Focus on areas that need coverage and blend outwards for a natural look. Remember, less is more – start with a small amount and build up if needed.
Set with Powder
Apply a small amount of translucent powder to a fluffy brush. Blend the powder onto the concealed areas using a gentle tapping motion. Make sure to cover all areas where concealer was applied to set it in place. Avoid rubbing the brush to maintain the coverage and increase the longevity of your makeup.
Conceal Other Areas
Apply a small amount of the remaining product on any blemishes, redness, or areas you want to highlight on your face. Blend it gently with your fingers or a makeup brush. Pat the product lightly to ensure seamless integration with your foundation. Avoid applying too much product to keep the overall look natural and balanced.
For example, dab a small amount of concealer on blemishes, then blend it with your fingertips. Lightly apply concealer on the bridge of your nose to highlight it. Pat the product gently to blend it into your foundation for a flawless finish.
Check for Balance
Apply a small amount of concealer under each eye using a damp makeup sponge. Blend gently towards the outer corners of your eyes to avoid harsh lines. Ensure both sides have a similar level of coverage by patting the product with your ring finger for a seamless finish. Set the concealer with a light dusting of translucent powder for long-lasting wear.
Touch-Up as Needed
Reapply concealer during the day if you see fading or creasing. Dab a small amount of concealer on the areas that need touching up. Blend gently with your fingertips for a seamless finish. Check periodically and touch up as needed for a fresh look throughout the day.
Avoid Overapplication
Apply a small amount of brightening concealer under your eyes in a gentle tapping motion. Blend the product outwards towards your temples using your ring finger or a makeup sponge. Ensure to build coverage gradually if needed, rather than applying a thick layer all at once. Remember to set the concealer with a light dusting of translucent powder for a natural finish.
Final Look
- Apply brightening concealer under the eyes, along the bridge of the nose, and on the center of the forehead to brighten these areas.
- Use a small amount of concealer and blend it gently with a makeup sponge or brush for a seamless finish.
- Focus on enhancing your natural features by lightly contouring the cheekbones, nose, and jawline with a bronzer or contour powder.
- Finally, set your makeup with a translucent powder to lock everything in place and achieve a radiant, flawless look.
Achieve Flawless Radiant Finish
In conclusion, mastering the art of applying brightening concealer for a natural look can truly enhance your skin’s radiance and boost your confidence. Embrace these steps and illuminate your beauty effortlessly.
Makeup Essentials
Enhancing Your Natural Glow
Application Tips for Brightening Concealer
- Start with a clean and moisturized face before applying the brightening concealer
- Use a small amount of the concealer and gently dab it onto any areas you want to brighten, such as under your eyes, around your nose, or on any blemishes
- Blend the concealer using your ring finger or a makeup sponge to ensure a smooth and even application
- Set the concealer with a light dusting of translucent powder to help it last longer and prevent creasing
- Remember to choose a shade of brightening concealer that is only one or two shades lighter than your natural skin tone for a natural and flawless finish
Concealer FAQs
The brightening effect of a concealer typically lasts throughout the day, depending on the type of concealer and its formula. Some long-wearing concealers can last up to 12 hours or more without fading or creasing. It is essential to set the concealer with a translucent powder to enhance its longevity.
Yes, brightening concealer can be used in conjunction with other makeup products. It can be used before or after foundation to cover dark circles or brighten specific areas of the face. Just make sure to blend it well with the rest of your makeup for a seamless look.


Great tips! I never knew applying concealer could be so fun.
I feel like a makeup pro after following these tips.
Natural look achieved! Thanks for the advice.
Can’t wait to show off my brightened under eyes!
Finally, a tutorial that’s easy to follow and delivers results.
I appreciate the detailed steps, really helpful.
This article made me love using concealer more!
Who knew concealer could make such a difference! Loved it.
I tried these steps and my under eyes look amazing!